CPAP Cleaning: Helpful Steps to Ensure Your Machine is Clean
Yes, CPAP is a pretty useful device for people with sleep apnea, but the fact remains that it can pose some risk.
Some researchers believe that a dirty device increases the risks for pneumonia and other diseases. One of the reasons might be that an unclean machine can be a breeding ground for germs, bacteria, mold, and such.
This is why it’s important to keep your equipment clean – so harmful particles don’t have a chance to grow. If you don’t know how to clean your CPAP, check out the CPAP cleaning tips below.
1. Use Mild and Safe Products for CPAP Cleaning
You should clean your humidifier water chambers every morning, and for this along with your other CPAP equipment, you must only use mild and gentle products. This is to avoid breaking down the material of the mask.
Don’t use alcohol-based cleansers, chlorine, or other harsh cleansers. Only use mild, pure, liquid soap.
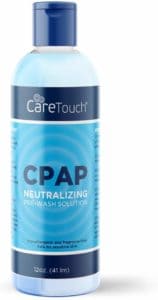
Better yet, use products made for the specific purpose of cleaning CPAP machines. These are safe and gentle enough for everyday use, and they won’t break down the material of the mask.
There are also unscented CPAP mask wipes you can use to wipe your mask every morning. This will remove any build-up from the previous night, keeping your mask clean in-between washings.
2. Disassemble the CPAP Machine and Wipe the Exterior
To start cleaning your equipment, first disassemble and separate the mask, the hose, and the chamber. If there are other parts that you can reattach with ease after, you can also disassemble them. Don’t forget to unplug it first from the power source, though.
Then, wipe the exterior down with warm water to remove the dust and dirt. Use a soft cloth and mix the liquid soap with warm water, making sure not to be too rough while wiping.
For some parts of the CPAP machine, this step is enough to clean them. For the others, though, you’ll also have to soak them in water.
3. Soak the Equipment in Warm Water
Get a tub or basin and fill it with warm water (as an alternative, you can use your sink, but make sure it’s clean). Then, add a small amount of liquid soap or a liquid CPAP cleaner.
You may also add diluted vinegar. However, this isn’t necessary, especially if you have a CPAP sterilizer.
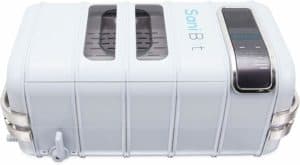
Mix the solution, and then put in your mask, headgear, tubing, chamber, and other connectors. Let it be for about 30 minutes before rinsing them all with warm water.
You can do this step at least once a month, but aim for once a week to ensure you’re using clean equipment. For the other days, you can swish the soap mixture through the tubing instead and then rinse it. A quick wipe with warm water every day should also be enough for the mask.
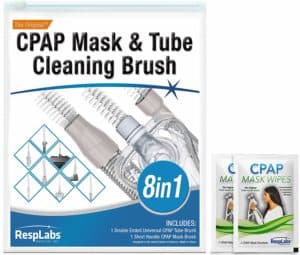
For a more complete clean of your tubing, consider using a specialized CPAP cleaning brush. This will allow a much more thorough cleaning which will allow your equipment to last longer.
4. Clean or Replace the Filters as Necessary
If your CPAP machine has filters, check with the manufacturer to see how to maintain them. In some machines, you can rinse it and then reattach to keep it clean. In others, however, you may have to replace them every couple of months or so.
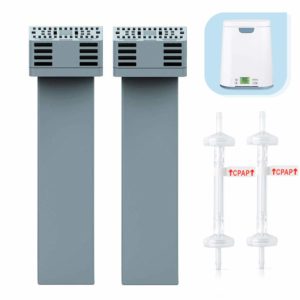
Make sure to at least wash it once a week to dislodge any build-up. If it’s getting dirty or if it’s past the expiration date (according to the manufacturer’s recommendation), you’ll have to replace it.
In general, you’ll have to replace fine filters every month as you’re not meant to clean them. Foam filters can be good for as long as 3 months or until they begin to break down. To keep it clean, you’ll have to wash them with the same soapy water.
Your CPAP machine may also use a bacteria filter, which you should remove to air dry every morning. You’ll only need to dispose of it, including the housing, when you see a build-up.
5. Allow the Machine to Air Dry
Once you’ve cleaned the whole machine, you should let it air dry. A wet or moist environment will create the perfect breeding ground for mold, fungus, and such to grow. When you use a dirty CPAP machine, you risk getting infections, inflammations, and other diseases.
Place the equipment, still disassembled, in a well-ventilated area for it to dry. Once dried, you can reassemble it, but not before inspecting it. Make sure that there’s no more dirt or mold in the corners of the machine.
You may have to clean it again and get to those corners if you miss a spot. If you’ve cleaned it again and again and you can’t still remove the mold, you may have to replace the parts affected.
6. Use a CPAP Machine Cleaner
To ensure that your equipment is safe from germs and bacteria, we recommend using a sterilizer to disinfect the whole machine. This is another step, which comes after you wipe or wash your CPAP machine.
The instructions will vary depending on the type of CPAP sterilizer you choose. In some devices, you can put in the whole machine, while in others, you may have to disassemble it.
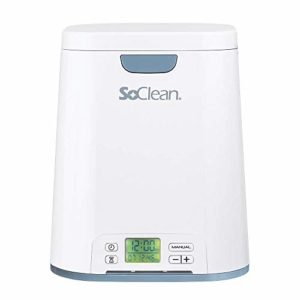
The CPAP cleaners will also vary in how they’ll disinfect your machine. Some may use activated oxygen, while others may use high-powered ultraviolet light. Either way, read reviews to ensure it does what it claims to be able to do.
The most important thing you’ll have to consider is whether it keeps your equipment dry, as we’ve mentioned the dangers of having leftover moisture in your mask or other parts of the machine. There are other factors to consider like size, ease of use, and such. Nevertheless, it’s also more important to ensure that the cleaner is compatible with your mask.
Learn How to Take Care of Your CPAP
If you follow these CPAP cleaning steps to a T, you’ll ensure that you’ll have a long-lasting CPAP that’s safe to use.
